 Visual-measurement flaw detection
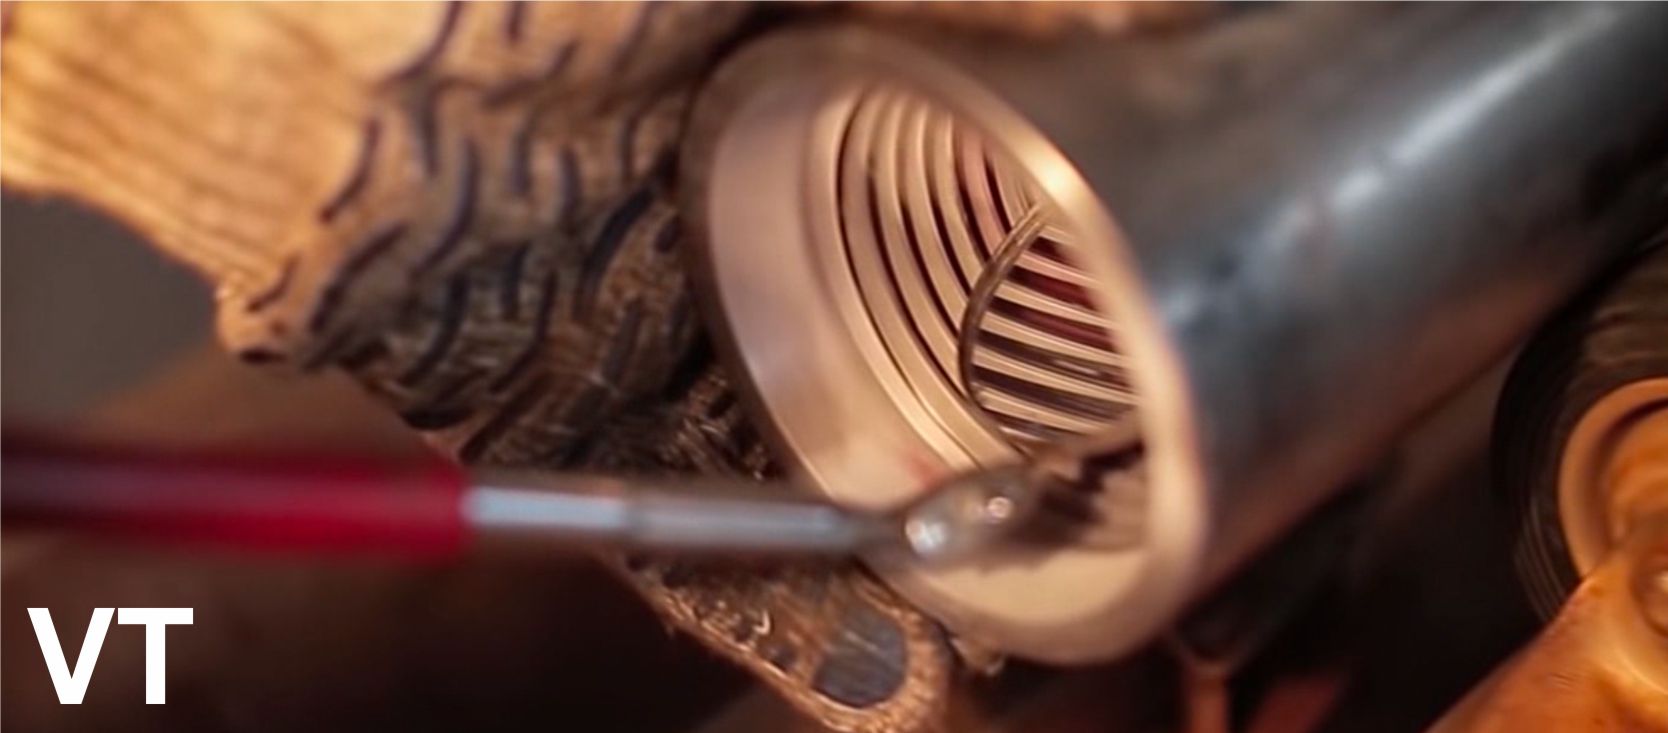
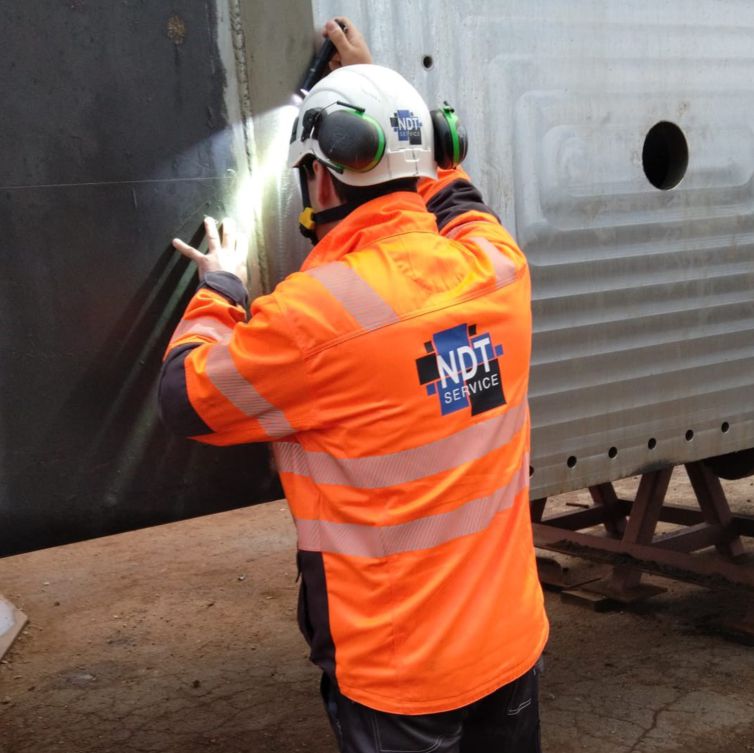
Visual-measurement flaw detection is based on visual inspection and quality control of welds, preparation and assembly of workpieces for welding. The purpose of visual-measuring flaw detection is to detect dents, burrs, rust, burns, overlaps and other visible defects. This method precedes the other flaw detection methods and is the basic method.

Visual-measurement flaw detection is carried out before all major nondestructive testing activities, such as radiographic testing, ultrasonic thickness gauging, capillary flaw detection, etc., and is a necessary method of nondestructive testing, serving as a highly effective means of preventing and detecting visible surface defects for
- base material of structures;
- welded joints;
- measurement of shape and size of welded joints;
- quality of parts;
- at technical diagnostics during the operation of products in accordance with the requirements of drawings and normative and technical documentation.
After the visual-measuring flaw detection it is necessary to eliminate all defects detected by this method.
The disadvantages of the method are low probability of detecting small surface defects, as well as the dependence of the detectability of defects on subjective factors (visual acuity, fatigue, experience of the specialist performing the control) and control conditions (illumination, optical contrast, etc.). To order the work please fill in the feedback form and our representative will contact you.
Order visual-measuring flaw detection

Projekt „Metalli kvaliteedi kontrol ja diagnostika".
Projekti eesmärk oli põhivara soetamine ja innovaatilise teenuse pakkumine.
Toetuse summa on 15 000 eurot
