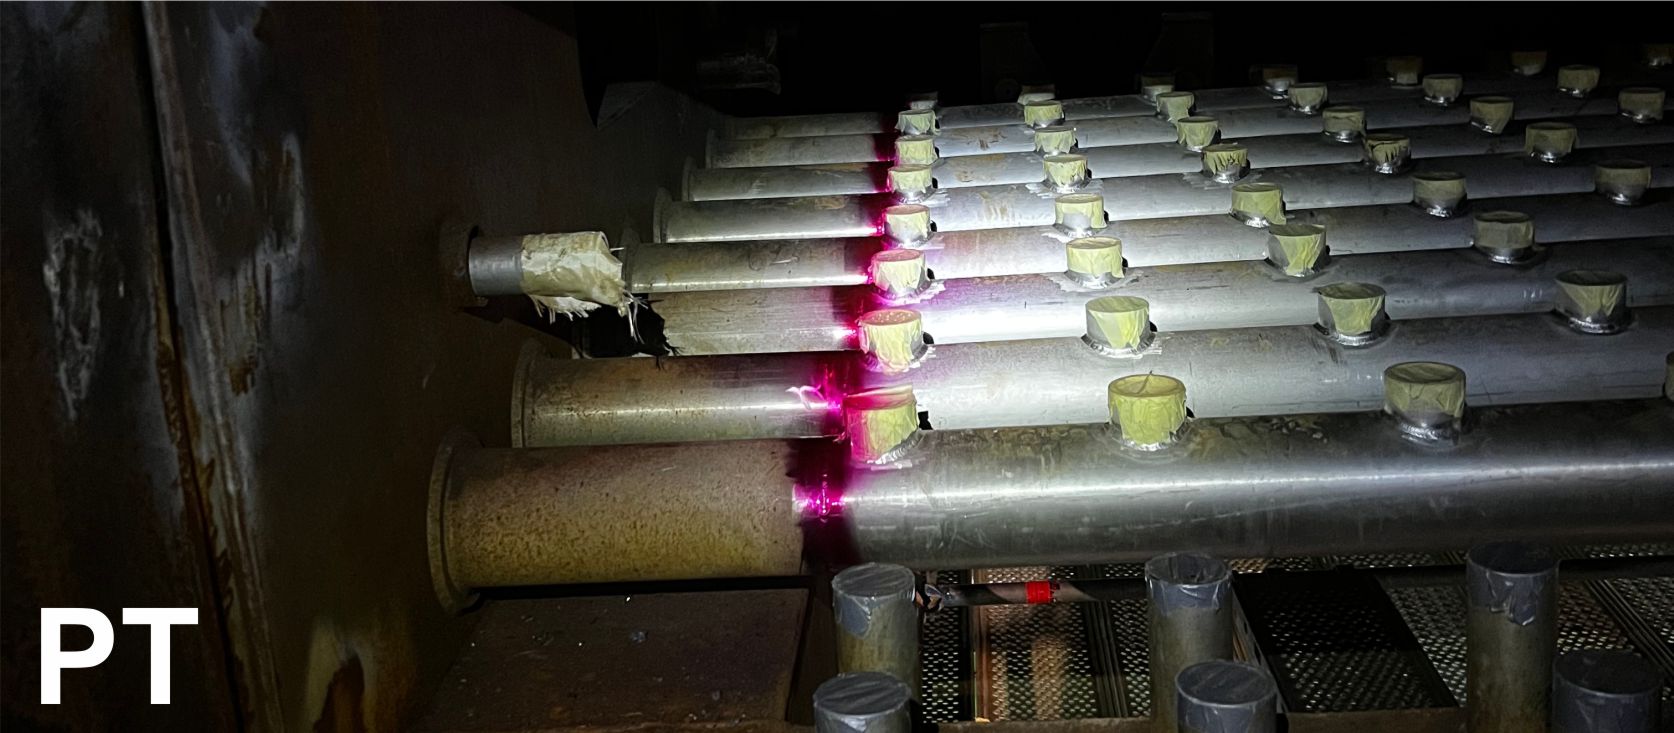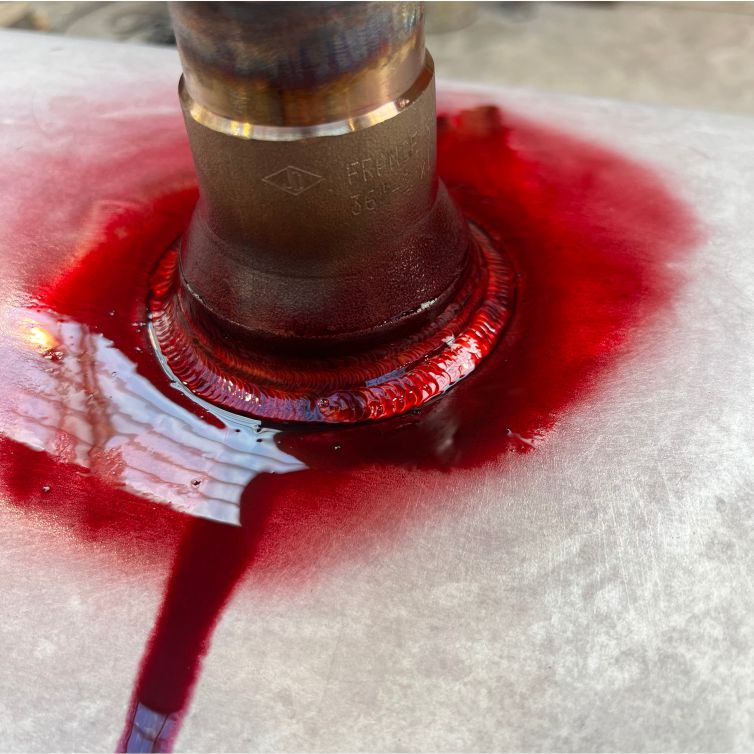
 Capillary flaw detection
Capillary control method is widely used to detect surface and through defects of material, welded joints. It is based on the use of a contrasting substance (penetrant), which, penetrating into various defects, forms under the influence of capillary pressure visually observable indicator patterns. On the basis of the obtained patterns it is possible to identify not only the quantitative, but also the qualitative composition of the damage.

This method of examination is suitable for almost all materials: aluminum alloys, copper, steel, titanium, glass, but the main application it found in the power, chemical, automotive industry, nuclear power, metallurgy, shipbuilding.
It is used to determine the presence of surface micro-defects that are not visible to the naked eye, their extent and location:
- cracks;
- pores;
- folds, discontinuities;
- non-fusion;
- discontinuities;
- sinks, etc.
This is a reliable and highly effective method, which, like other types of nondestructive testing, allows you to detect various defects without destroying the surface of the product.
The advantages of color flaw detection are simplicity and accessibility of use, universality, low cost price. The method does not require complex equipment and expensive consumables. Another advantage is its high sensitivity which detects flaws with a width of less than 1.0 µm. According to the results of control you will receive the conclusion, which will describe the detected defects. To order the work fill in the feedback form and our representative will contact you.
Order capillary flaw detection

Projekt „Metalli kvaliteedi kontrol ja diagnostika".
Projekti eesmärk oli põhivara soetamine ja innovaatilise teenuse pakkumine.
Toetuse summa on 15 000 eurot
